Fabricating Niobium Cavities
Niobium cavities can be constructed using different methods. Here we illustrate some procedures used at Cornell to fabricate sheet niobium cavities.
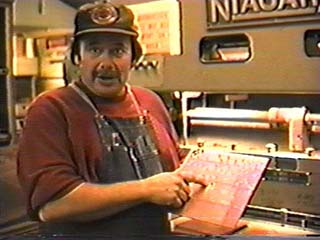
Step 1: Shearing
|
The sheet material from the niobium supplier has rectangular shape. The starting blank to form the cavity half cell is usually a disk.
|
|
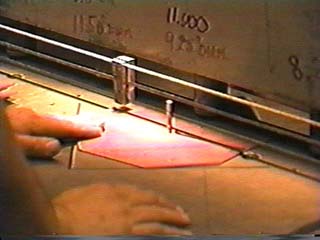
It is made by shearing the sheet repetitively while slowly pivoting the sheet around a center pin.
|
|
The plate after being sheared to be round.
|
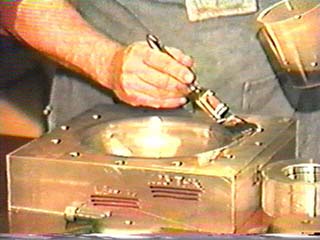
Step 2: Deep drawing
Deep drawing is a forming process whereby a blank is pressed into shape using a set of dies. These dies are machined out of 7075-T6 aluminium alloy.
The female die is lubed with clean motor oil.
|
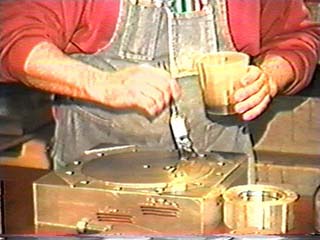
The plate to be pressed is also lubed on the side where the female die will contact it.
|
The bolts are tightened down to just the right amount using a torque wrench.
|
|
The male die.
|
|
|
|
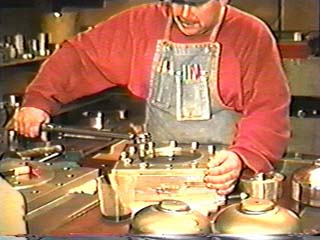
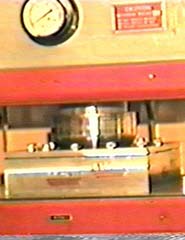
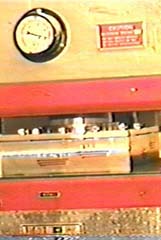
The sandwich composed of the male die, the niobium plate, and the female die is placed into the 100 ton press.
|
|
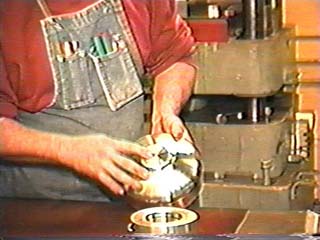
The deep drawn plate is removed from the die.
|
|
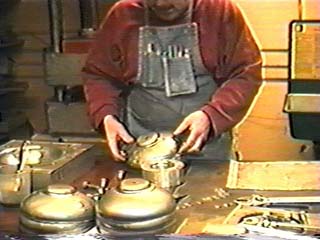
Step 3: Trimming
|
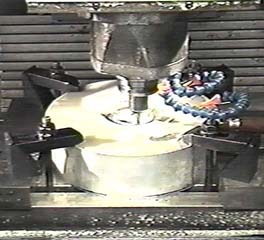
After deep drawing, the half cells are trimmed to the final size for electron-beam welding.
|
|
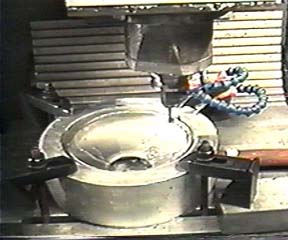
For this 1/8 inch wall thickness cavity, a CNC (computer numerical control) milling machine is used to trim the inner and outer diameter. The cavity is held in place by a vacuum chuck.
|
A 1/16 inch cavity would be trimmed on a lathe instead.
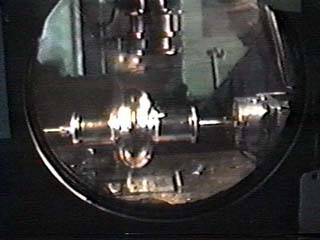
Step 4:Electron-beam welding
The pieces of the cavity are electron beam welded together inside a vacuum chamber.
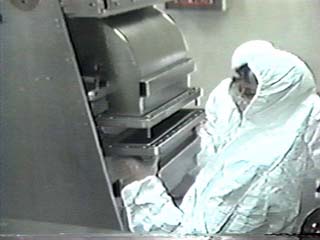
Assembling
A 500 MHz cavity is shown here in a clean room. A stainless steel waveguide hat with an input power coupler is being attached to the niobium cavity. Indium wire is used at the seal at the joint.